Settings
Settings is where you configure how your organization works and customize your own account. There are two areas: Organization Settings control tenant-wide behavior, while Personal Settings apply only to you.
Organization Settings
Organization settings are available to administrators. They control how the tenant operates for everyone.
General
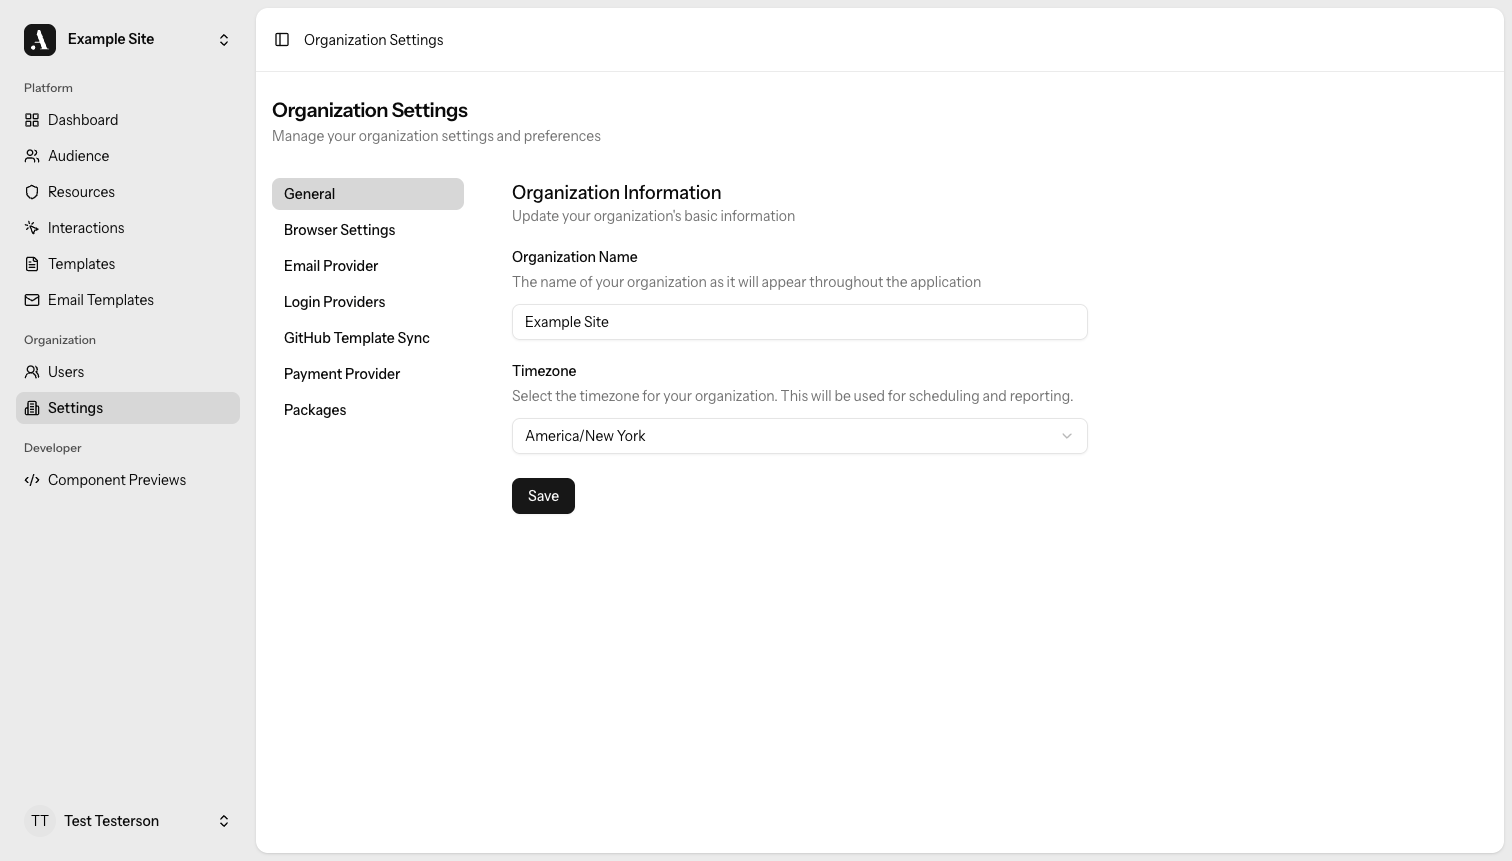
Go to Organization Settings → General to update your organization's basic information.
| Field | Description |
|---|---|
| Organization Name | The name shown throughout the application. |
| Timezone | The timezone used for scheduling and reporting. |
Click Save to apply changes.
Email (AWS SES)
Go to Organization Settings → Email to configure AWS Simple Email Service (SES). Allegro uses SES to send transactional email on behalf of your organization.
| Field | Description |
|---|---|
| Access Key ID | Your AWS IAM access key ID with SES send permissions. |
| Secret Access Key | The corresponding AWS secret access key. |
| Region | The AWS region where your SES service is configured (e.g. us-east-1). |
If a credential is already saved, the field shows a masked placeholder
(••••••••). Enter a new value to replace it.
Allegro stores your SES credentials encrypted. You can update them at any time by entering new values and saving.
Before saving, make sure your IAM user or role has the ses:SendEmail and
ses:SendRawEmail permissions in the configured region.
Login Providers
Go to Organization Settings → Login Providers to set up OAuth login for your audience members. Each provider shows whether it is Enabled or Not configured.
Supported providers include Google and GitHub.
Setting Up a Provider
Each provider requires a Client ID and Client Secret (and sometimes additional fields). To configure one:
- Create an OAuth application in the provider's developer console.
- Copy the Redirect URL shown on the Login Providers page and add it as an authorized redirect URI in your OAuth app.
- Enter the Client ID and Client Secret into the corresponding fields and click Save.
Once saved, the provider badge changes to Enabled and audience members can sign in with that provider.
Encrypted fields such as Client Secret show a masked placeholder once saved. To update a secret, enter a new value. To remove a saved secret, use the remove it link below the field.
GitHub Sync
Go to Organization Settings → GitHub Sync to connect a GitHub repository as the template source for your organization. When connected, templates sync automatically on every push to the configured branch.
For full setup instructions — including creating the GitHub App, configuring environment variables, and the installation flow — see the GitHub Sync guide.
Managing an Existing Connection
Once connected, the page shows:
| Detail | Description |
|---|---|
| Connected Account | The GitHub account or organization the app is installed under. |
| Repository | The full repository name (e.g. org/repo) being synced from. |
| Default Branch | The branch that triggers syncs on push. |
| Last Sync | Timestamp and short commit SHA of the most recent sync. |
From this page you can:
- Sync Now — Manually trigger a sync (rate-limited to once every 5 minutes).
- Change Repository — Opens the GitHub App settings to adjust which repositories are accessible.
- Disconnect — Stops syncing. Existing templates remain but become editable.
Disconnecting does not delete your templates. However, if you later connect a
new repository to an organization that already has templates, Allegro will
permanently delete all existing templates to replace them with the repository
contents. You must type DELETE to confirm this action.
Latest Sync Status
Below the connection details, Allegro shows the most recent sync status:
| Status | Meaning |
|---|---|
| Pending / Running | The sync job is queued or actively processing. |
| Success | All templates were synced from the repository. |
| Failed | The sync encountered an error. The error message is shown below the status. |
Warnings (e.g. skipped files) are also listed when present.
Packages
Go to Organization Settings → Packages to manage which integration packages are enabled for your organization. Packages are grouped by category.
Check or uncheck a package to enable or disable it, then click Save.
Packages marked with a Global badge are always enabled and cannot be toggled from this page.
Personal Settings
Personal settings apply only to your own account. They do not affect other users in your organization.
Profile
Go to Personal Settings → Profile to update your account details.
| Field | Description |
|---|---|
| Name | Your display name shown throughout the application. |
| Email address | The email address used to sign in and receive notifications. |
Click Save to apply changes.
If your email address has not been verified, a prompt appears with a link to resend the verification email.
Your profile page also contains an option to permanently delete your account. This action cannot be undone.
Password
Go to Personal Settings → Password to change your account password.
Enter your current password, then provide a new password and a matching confirmation. Click Save password to apply.
Use a long, randomly generated password. A password manager can help you generate and store one securely.
Two-Factor Authentication
Go to Personal Settings → Two-Factor Authentication to enable or disable 2FA on your account.
Enabling 2FA
- Click Enable 2FA. A setup modal appears with a QR code.
- Scan the QR code with a TOTP-compatible authenticator app (such as Google Authenticator, Authy, or 1Password). If you cannot scan the code, a manual setup key is also provided.
- Enter the one-time code from your authenticator app to confirm setup.
Once enabled, you are prompted for a TOTP code on every login.
Recovery Codes
After enabling 2FA, you can view your recovery codes. Store these somewhere safe — they let you regain access if you lose your authenticator device.
Disabling 2FA
When 2FA is enabled, a Disable 2FA button appears. Click it to remove the two-factor requirement from your account.
Disabling 2FA reduces the security of your account. Only disable it if you have a specific reason to do so.
Appearance
Go to Personal Settings → Appearance to control the color scheme of the Allegro admin interface.
| Option | Description |
|---|---|
| Light | Always use the light theme. |
| Dark | Always use the dark theme. |
| System | Follow your operating system's light/dark mode preference. |
Your preference is saved automatically when you select an option.
API Tokens
Go to Personal Settings → API Tokens to create and manage personal access tokens for authenticating with the Allegro API.
Creating a Token
- Enter a descriptive name in the Token Name field (e.g.
My API Token). - Click Create Token.
- A modal displays the generated token value. Copy it now — it will not be shown again.
Managing Existing Tokens
Your tokens are listed in a table with the following columns:
| Column | Description |
|---|---|
| Name | The label you gave the token at creation. |
| Created | The date and time the token was created. |
| Last Used | When the token was most recently used to make an API request, or Never if it has not been used. |
To revoke a token, click the trash icon in the Actions column and confirm the prompt. Revoked tokens cannot be recovered.
Treat API tokens like passwords. Do not share them or commit them to source control. If a token is compromised, revoke it immediately and create a new one.
Related Links
- Users — manage team members and invitations
- Permissions — understand roles and what each can access