Templates
Templates are reusable building blocks for the experiences you deploy to your readers. Design a component once — with its own HTML, JavaScript, and CSS — then use it across as many Interactions as you need.
Overview
Think of a template as a self-contained widget. It holds everything the browser needs to render a component: markup for structure, styles for presentation, and scripts for behavior. On top of that, you can define fields — named placeholders that each Interaction fills in with its own values — so one template can power many different experiences.
Templates also support external CSS URLs for loading fonts, icon libraries, or CSS frameworks alongside your code.
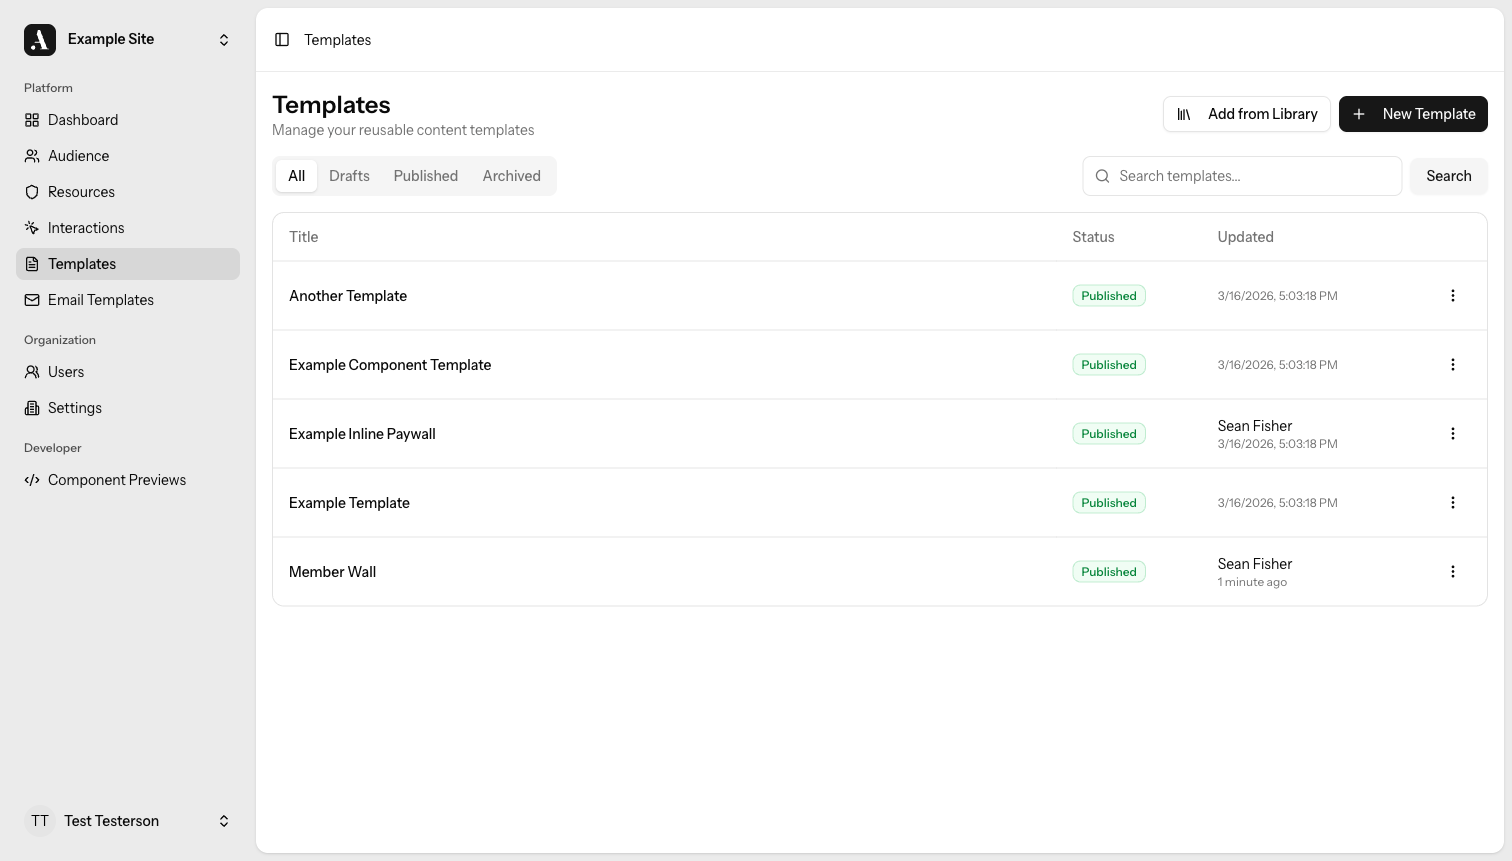
Creating a Template
Head to Templates → New Template, give it a title, and start writing your HTML, CSS, and JavaScript. A URL-friendly slug is generated from the title on first save. Renaming the template later won't change the slug, so any Interactions that reference it stay linked.
Status
Every template starts as a Draft so you can iterate without affecting live Interactions. When you're ready, publish it.
| Status | Meaning |
|---|---|
| Draft | Work in progress — not available for use in Interactions |
| Published | Ready to use |
Fields
Fields make templates flexible. Instead of hard-coding copy or settings, you define named variables that each Interaction supplies at render time.
For example, a "Subscribe Banner" template might expose a headline field. One
Interaction sets it to "Join our newsletter", another to "Get daily updates" —
same template, different message.
Each field has four properties:
| Property | Description |
|---|---|
| Name | A human-readable label (e.g. "Email Placeholder") |
| Slug | The variable name used in your code (e.g. emailPlaceholder). Auto-generated from the name if left blank. |
| Description | Help text shown to whoever configures the Interaction |
| Type | text, number, or checkbox |
Using Fields in Your Code
Reference a field by wrapping its slug in {% %} anywhere in the HTML:
<h1>{% headline %}</h1>
<input placeholder="{% emailPlaceholder %}" />
External CSS URLs
Need Google Fonts, a CSS reset, or a utility framework? Add the stylesheet URLs
to the template and they'll be injected as <link> tags at render time — no
manual <head> editing required.
Revision History
Every save creates a new revision automatically. You can browse the full history, compare any two versions side by side, and roll back whenever you need to. See Revisions for details.
Archiving
Templates are never permanently deleted right away. Instead, you archive them:
- Archived templates disappear from normal listings.
- Members and admins can restore an archived template at any time.
- Only admins can permanently delete one.
To archive, open the template and choose Archive from the actions menu. To restore, switch to the Archived filter in the Templates list.
Permissions
For details on who can manage templates, see Permissions.
How Templates Render
When an Interaction triggers, Allegro injects the template into the page at the configured position. Each template runs in its own isolated environment, so its styles won't affect the rest of the page and the page's styles won't bleed in.
Templates support Alpine.js for reactive behavior and Allegro's web components (login form, email capture, content gate) out of the box — no extra setup required.
For technical details on the rendering model, available JavaScript context, and Alpine.js data, see the Templates guide in the developer docs.
Tips
- Keep CSP in mind. Template HTML, CSS, and JavaScript run in the reader's browser. If your site enforces a strict Content Security Policy, make sure inline scripts and styles are allowed.
Related
- Interactions — Deploy templates to your readers
- Revisions — Full version history and rollback